
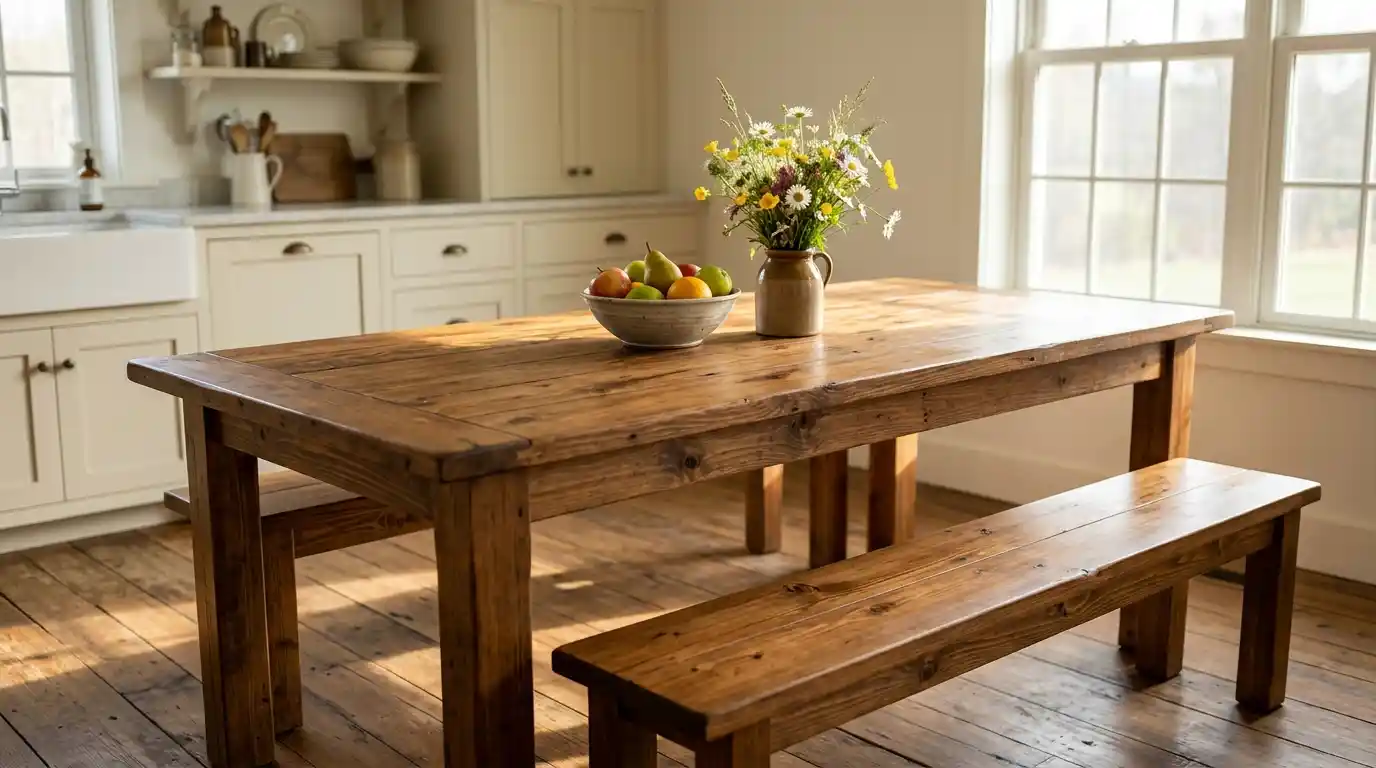
Let’s be honest, tables are expensive. The solid ones cost a fortune, and the cheap ones wobble. Building your own fixes both problems. A DIY kitchen table is a weekend job, and you don’t need a workshop for it. A drill, a saw, some pine, and patience will do. I’ll cover size, tools, six build steps, and the finish. If you only remember one thing, make it this: check your corners are square as you go. A plain table that sits flat beats a pretty one that rocks.
What Do You Need Before You Start a DIY Kitchen Table?
Plan first. It’s boring, but it saves you. Decide who sits there, where it goes, and what style you like. Farmhouse is the easy one: fat legs, plank top. For wood, most first-timers buy pine or whitewood at the home store. It’s cheap and cuts like butter. Oak looks better but costs more and is harder on your saw. Buy extra boards. You’ll ruin one. And sight down each board like a pool cue, because bent boards stay bent.
What size should a kitchen table be?
Aim for about 30 inches tall and 36 inches wide. Give each person roughly 24 inches of edge. So 72 inches seats six, and 8 feet seats eight. Those are rules of thumb, not law. Tape the outline on your floor and walk around it. Leave about 3 feet to the wall so chairs can slide back. Ana White’s free plans use 29-inch legs, which lands near 30 with a thick top.
What tools and wood do you need?
Less than you’d think. A drill, a pocket hole jig, a circular or miter saw, a sander, clamps, and a speed square. Add a tape measure, a level, and safety glasses. Ana White’s farmhouse table plan lists a similar set. Frames use 2x4s. Legs are 4×4 posts or two glued 2x4s. The top is 2×6 or 2×8 boards. Also grab wood glue, 2.5-inch pocket hole screws, wood filler, and sandpaper in 80, 120, and 220 grit.
How Do You Build a Kitchen Table Step by Step?
Think legs, frame, top. Build each part alone, then join them. It’s a lot less scary that way, and a mistake stays small. Work on a flat floor, since a wavy floor gives you a wavy table. Cut everything first and label the pieces in pencil. Then dry-fit it without glue. If a joint is off, you want to find out while it still comes apart. HowToSpecialist’s kitchen table tutorial says one day for its simple 2×4 version, using pocket screws.
What are the 6 steps?
- Cut your boards. Follow the cut list in your plan and go slow.
- Build the leg sets. Join each pair of legs with aprons using glue and pocket holes.
- Connect the frame. Tie the two leg sets together with long aprons and a center board.
- Check for square. Measure corner to corner, both ways. The numbers should match.
- Make the top. Glue the boards edge to edge, clamp them, and sand it flat.
- Attach the top. Screw up from underneath so nothing shows on top.
Do you need a pocket hole jig?
No, but I’d get one. Ana White says pocket holes hide most screw holes, so stained tables look clean. She has a no-jig version too, but it means more cuts and more drilling. A jig costs little next to a finished table. Whatever you pick, drill small pilot holes so the wood doesn’t split, and clamp each joint before you screw it. Her plans also say to check for square after every step. Good rule.
How Do You Finish and Care for a Wooden Table?
Don’t rush the finish. Bare wood gets water rings and scratches fast. Fill the screw holes, sand up through the grits, and wipe off the dust with a damp cloth. Then stain, paint, or seal. This table will get spills, scrubbing, and homework, so pick something tough. Two or three thin coats beat one thick coat. And read the can for drying times and safety.
What finish holds up to daily meals?
Clear polyurethane is the usual pick. It dries hard and wipes clean, and it handles water and scratches better than wax or oil. Brush on three thin coats, with a light sand between each. Let the final coat cure all the way before you set plates on it, as the label says. Want a darker look? Stain first, let it dry, then seal. On pine, use wood conditioner so the stain doesn’t go blotchy.
Where can you find free plans?
Ana White has free plans with diagrams. Her farmhouse table is rated intermediate. HowToSpecialist has an easier 2×4 table. Popular Mechanics has a kitchen table guide too, but the site blocked me, so I couldn’t read it. Read any plan twice before you buy wood. Compare the cut list with the pictures, since plans sometimes have small errors.
Conclusion
A DIY kitchen table is a great first furniture project. Pick a size, get a few basic tools, and cut carefully. Use glue, clamps, and pocket holes for strong joints. Check for square as you go, and don’t skimp on sanding. Add a tough clear coat and let it cure. You end up with a table that fits your room and budget and handles years of dinners. This week, measure your space and print a free plan. The first cut is the hardest.
FAQs
How long does it take to build a kitchen table?
A simple 2×4 table can take about one day, according to HowToSpecialist. A bigger farmhouse table takes a weekend once you add sanding and finishing.
What wood is best for a kitchen table?
Pine or whitewood is the easiest and cheapest for beginners. Oak or maple lasts longer and looks richer, but costs more and is harder to cut.
What size should a kitchen table be?
A common size is about 30 inches tall and 36 inches wide. Plan about 24 inches of length for each person, so a 72-inch table seats about six.
What finish is best for a kitchen table?
Water-based or oil-based polyurethane makes a strong surface that wipes clean. Use thin coats, let each dry, and wait for a full cure before use.